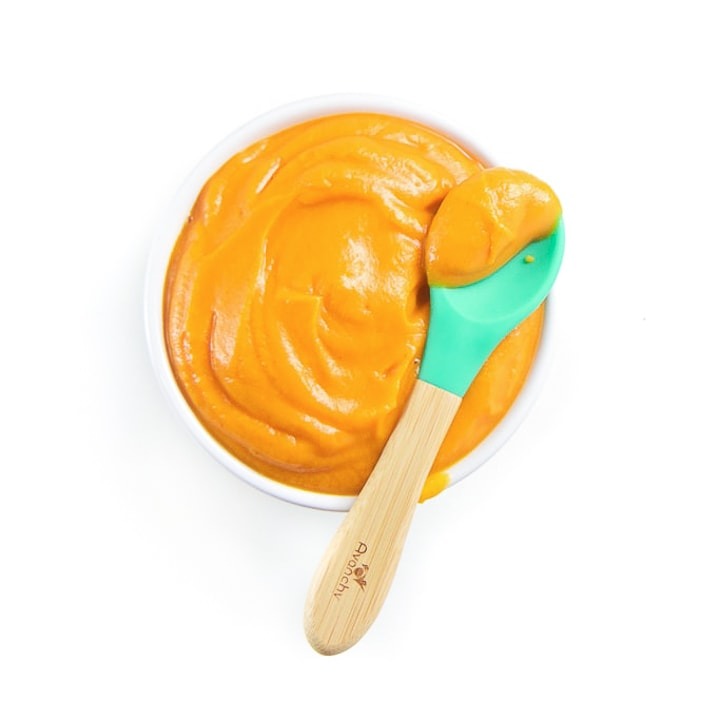
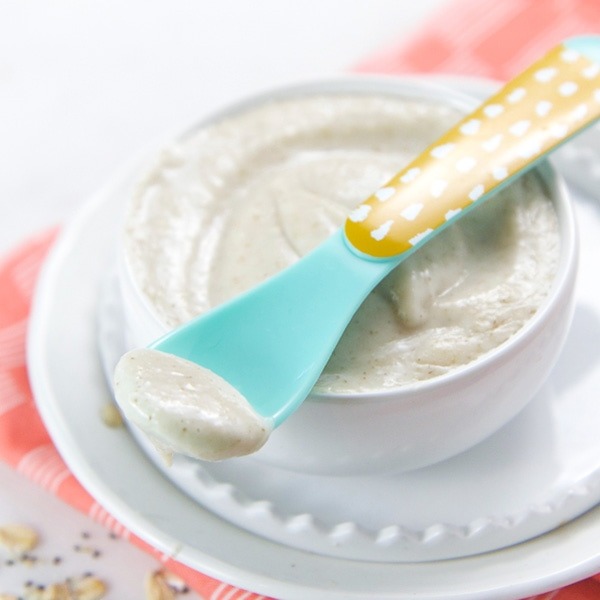
Making pureed baby food is not only a rewarding process for parents, but it’s also a wonderful way to ensure that your little one gets the best nutrition possible. In this guide, we will explore essential steps on how to make puree baby food, highlighting the benefits, equipment needed, and tips to make the experience enjoyable for both you and your baby.
Iron-Rich Puree: A Nutritious Start for Babies
Ensuring your baby gets enough iron is crucial for their growth and development. Iron-rich purees serve as an excellent introduction to solids. They provide essential nutrients that support brain development and overall health. Starting with purees rich in iron can help set the foundation for a well-rounded diet. Below, we’ll dive into how to select and prepare meats for iron-packed purees.
Choosing Meat for Puree and Cooking Techniques
Select the right type of meat for iron-rich purees. Options include beef, chicken, and fish.
- Cook the meat thoroughly until it’s safe for baby consumption.
- Let the meat cool down before blending. This is important for both safety and texture.
- Chop the meat into small pieces to help it blend smoothly. Smaller pieces are easier to puree.
Creating a Smooth Puree for Infant Introduction to Solids
A smooth texture is key for a baby starting solids.
- Blend the cooked meat with its juices until it reaches a creamy consistency.
- For infants who are just beginning to eat solids, the puree should be extra smooth.
- If needed, add a little water or breast milk to thin out the mixture.
- Make sure there are no chunks or lumps that could pose a choking hazard.
Stay tuned as we move on to the delightfully diverse world of fruit and vegetable purees, which not only complement iron-rich meat purees but provide a colorful palette of nutrients for your little one.
Preparing Fruit and Vegetable Purees

Best Cooking Practices for Infant Purees
When you begin making puree baby food, safety and nutrition are top priorities. For fruit and vegetable purees, start by selecting fresh produce. Wash them thoroughly under running water to remove any dirt or bacteria. Next, peel if necessary, and cut them into small, even chunks. This helps them cook uniformly. Cook them in a saucepan with just enough water to cover them. Simmer until they’re soft, which makes them easier to puree and digest for your infant. Remember to save some of the cooking liquid. You can use it to adjust the puree’s consistency to your baby’s liking.
Essential Fruits and Vegetables Suitable for Pureeing
Not all fruits and vegetables are equal when it comes to pureeing. Aim for ones that are naturally soft and packed with nutrients. Some of the best choices for purees include cooked apples, carrots, pears, peas, and sweet potatoes. These provide a variety of flavors and essential vitamins for your baby’s development. Avoid using produce with tough skins or seeds until you’re sure your baby can handle more textured foods.
Steps to Puree Fruits and Vegetables
To puree, first let the cooked fruits or vegetables cool. Then, transfer them to a blender or use a hand mixer. Add a little of the reserved cooking liquid or boiled water as needed to reach the desired smoothness. For younger infants, ensure the puree is extra smooth with no chunks. For older ones, a thicker consistency with tiny, soft lumps can encourage chewing. After blending, let the puree cool before feeding your baby directly or storing it for future use.
No-Cook Puree Options for Babies
For busy parents, no-cook puree options can be a lifesaver. They are quick to prepare and still offer the nutrients and flavors that help your baby thrive. These purees bypass the cooking process altogether, making meal prep faster and simpler.
Ideal Fruits for No-Cook Purees
When thinking of fruits that don’t need cooking before pureeing, choose those that are naturally soft and ripe. Great no-cook options include bananas, avocados, and peaches. These fruits provide essential nutrients and are quite easy to turn into a smooth puree.
- Bananas are rich in potassium and fiber.
- Avocados offer healthy fats that are good for brain development.
- Peaches bring a sweet taste and vitamins A and C.
Select fruits that mash easily and have no tough skins or seeds that could pose a choking hazard.
How to Prepare No-Cook Fruit Purees
Preparing no-cook fruit purees is as simple as peel, mash, and serve. Follow these easy steps:
- Wash your hands before you begin.
- Pick ripe, soft fruits and ensure they are clean.
- Peel the fruits, if needed, and remove any pits or tough parts.
- Mash the fruit with a fork or potato masher until it’s smooth.
- If the puree is too thick, add a little water or breast milk to get the right consistency. This can also help ease the transition from milk to solids.
- Test the puree to ensure there are no chunks and that it’s completely safe for your baby to eat.
No-cook purees are best used immediately, but you can cover and refrigerate them for up to 24 hours.
Remember to introduce these purees one at a time to monitor for allergies and preferences. With no-cook puree options, you can offer your baby a variety of tastes and textures that are both delicious and nutritious.
Frequently Asked Questions on Purees

As you embark on the journey of making your own puree baby food, you might have some queries. We’ve compiled answers to some of the most common questions parents have.
Safe Storage and Preservation Methods
Once your puree is ready, how do you keep it fresh? Here’s what to do:
- Let the puree cool down after making it.
- Transfer the puree into airtight containers or freeze it in ice cube trays.
- Label the containers with the date, so you know when you made it.
- Refrigerated purees can last 2 to 3 days, and frozen ones can last 1 to 3 months.
Tips for Making and Storing Purees in Advance
Making purees in advance saves time and stress. Try these tricks:
- Cook large batches of puree and divide them into small portions.
- Freeze the portions to use later, ensuring you have a variety.
- Mix and match flavors as your baby gets used to different tastes.
Methods for Reheating Homemade Baby Food
When it’s mealtime, you need to safely warm up the puree. Here’s how:
- Thaw frozen puree in the fridge overnight or warm it over medium heat.
- If using a microwave, stir often to avoid hot spots.
- Always check the temperature before feeding your baby. It should be just warm.
Remember to discard any leftovers after your baby has eaten. Reheated food can harbor bacteria, so it’s best to serve fresh or properly stored puree. Follow these guidelines to ensure your baby enjoys safe and nutritious meals.
First Foods: Selecting the Right Puree for Your Baby
Choosing the first puree for your baby is a big step. You want to ensure they get the best start with nutritious and easy-to-digest foods. For most babies, the journey to solids begins around 6 months old. At this age, babies need iron-rich foods to help their growth. Let’s cover what makes iron-rich purees ideal for beginners and how to start with single-ingredient purees.
The Importance of Iron-Rich Purees for Beginners
Babies are born with iron stores from their mothers. But by around 6 months, these stores start to deplete. Iron supports brain development and healthy blood. Straight away, it’s smart to begin with iron-rich purees. Foods like pureed meats, iron-fortified cereals or lentils are good choices. Starting with these foods helps prevent iron-deficiency anemia—a common issue in infancy.
Introducing Single-Ingredient Purees
Once you’ve chosen to start with iron-rich foods, consider single-ingredient purees. These are purees made from one food only—like apple, pear, or sweet potato. Starting with single ingredients helps you spot any food allergies or sensitivities. It also lets your baby get used to new tastes and textures, one at a time. Keep it simple to start with. Try one new food every few days and watch how your baby responds.
Alternatives to Blending for Pureeing Baby Food
When you’re making puree baby food, a blender is a common tool. But there are other ways to get that smooth consistency for your baby. Here we’ll explore how you can create purees without high-tech gadgets. It’s perfect for when you’re away from home or if you want to keep things simple.
How to Puree Without a Blender
You can still make fine purees without a blender. Use a fork or potato masher for soft foods like bananas. A food mill or sieve works for more texture. A mortar and pestle can also mash food well. Cook fruits and veggies until really soft before mashing. This makes it easier to get a smooth puree. Start with easy-to-mash options like avocado and ripe banana.
Adjusting Puree Consistency with Water
Sometimes, purees are too thick for your baby. Add water to make them thinner. Boiled and cooled water is safe and does the job nicely. Start with a small amount. You can add more if needed. Mixing the puree with water helps you achieve just the right texture. And it’s useful for easing your baby’s move from liquids to solids.
In summary, you don’t need a blender to make puree baby food. With simple tools and techniques, you can prepare healthy, smooth food for your baby. Adjust the thickness with a little water to make sure your baby enjoys their meal and to aid their digestion.
The Pureeing Process: Tools and Techniques

Making puree baby food is simple with the right tools and techniques. In this section, we’ll look at the equipment you can use for pureeing food smoothly for your little one.
Using a Blender or Processor for Perfect Purees
A blender or food processor is ideal for creating smooth purees. Follow these steps for best results:
- Cook your choice of fruit, vegetable, or meat until soft.
- Let it cool slightly. Too hot can be unsafe for blending.
- Place the cooked food in the blender or processor.
- Pulse or blend until you get a creamy, smooth texture.
- If the puree is thick, add a little breast milk, formula or water.
- Keep blending until you reach the desired consistency.
This method is quick and efficient, especially for larger batches of baby food.
Alternative Utensils for Pureeing
No blender? No problem! You can use these utensils:
- Forks or potato mashers work well for soft foods like bananas.
- A food mill or sieve helps make a fine puree with more texture.
- Mortar and pestle can grind up food into a paste.
Remember these tips:
- Always cook fruits and veggies until they are very soft.
- Mash the food while it’s still warm to make it easier to puree.
- Start with foods that are easy to mash for the best texture.
Using these alternative utensils may take more time and effort, but they still achieve a good consistency for baby food. Plus, they’re easy to clean, making them handy for small, quick jobs or when you’re on the go.